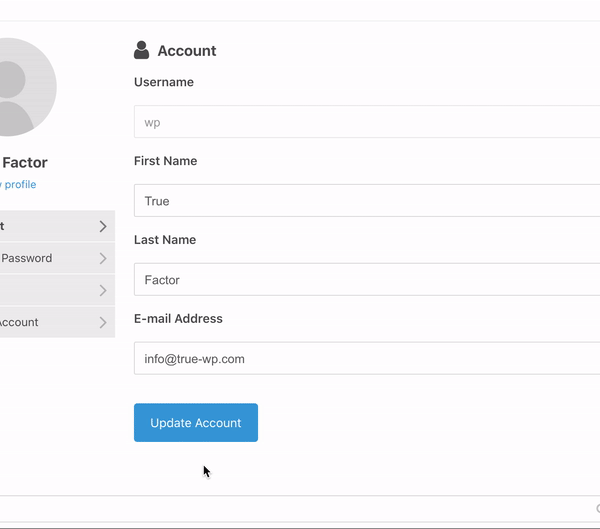
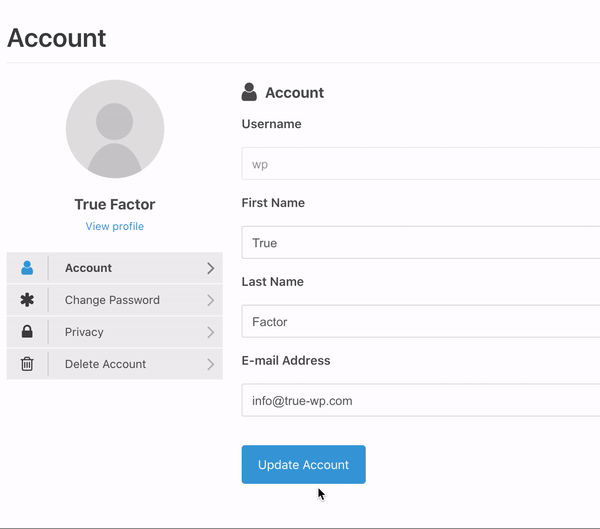
In this example we’ll restrict access to the Account form provided by the Ultimate Member plugin, which is usually located under /account/. As result, user will be asked to confirm any changes with his password or second-factor verification method (one-time password from SMS or Authenticator App).
Step 1. Obtaining the form parameters.
First, we need to find parameters of the form. Here’s how we do it.
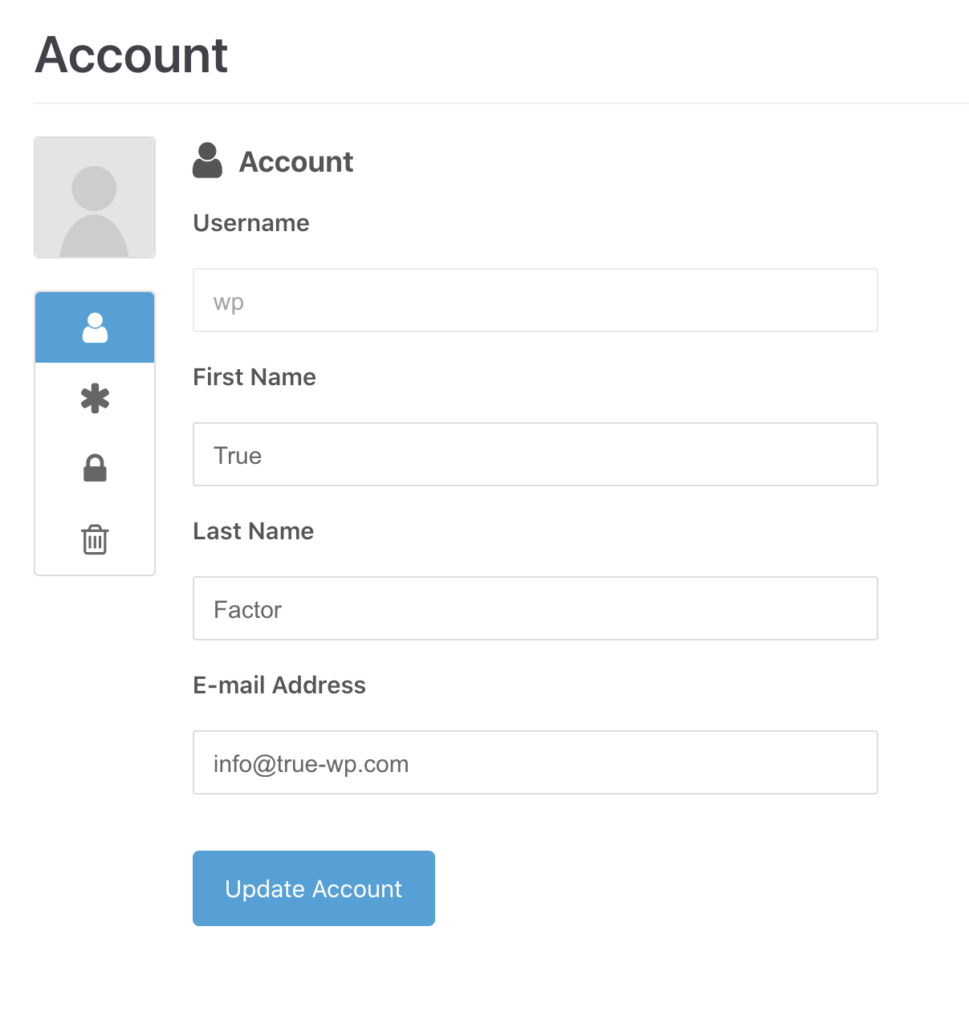
Go to the page where the form is located. The form looks like this:
On this page we need to get the CSS selector for the Update Account button, which triggers form submission. For this purpose we should use the DOM Inspector, which is included in all modern browsers. Personally I use Chromium. So I just open context menu on the button and click Inspect:
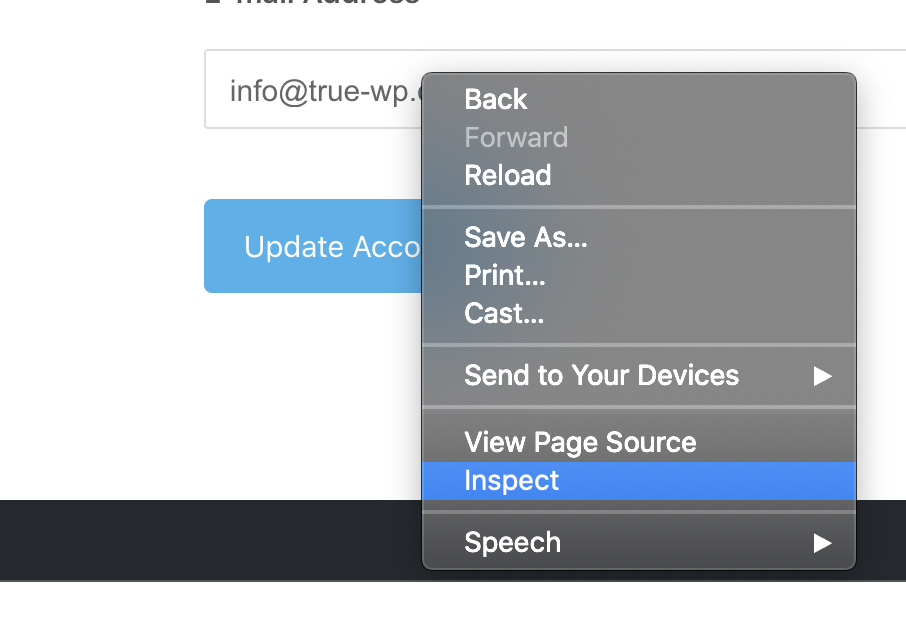
Now I can see the DOM tree in the DevTools window. The Chromium browser offers “Copy selector” feature which is exactly what we need. If your browser does not provide such a functionality, you may need to ask your webmaster to help with writing CSS selector. This task is quite trivial for a web developer.

In our case the target element has unique id and therefore its CSS selector is quite simple: #um_account_submit_general
As we can see in the DOM inspector, the button name is the same as its id – um_account_submit_general. We’ll need it on the next step.
Step 2. Defining a rule.
Now let’s define the rule using the parameters we obtained on the previous step.
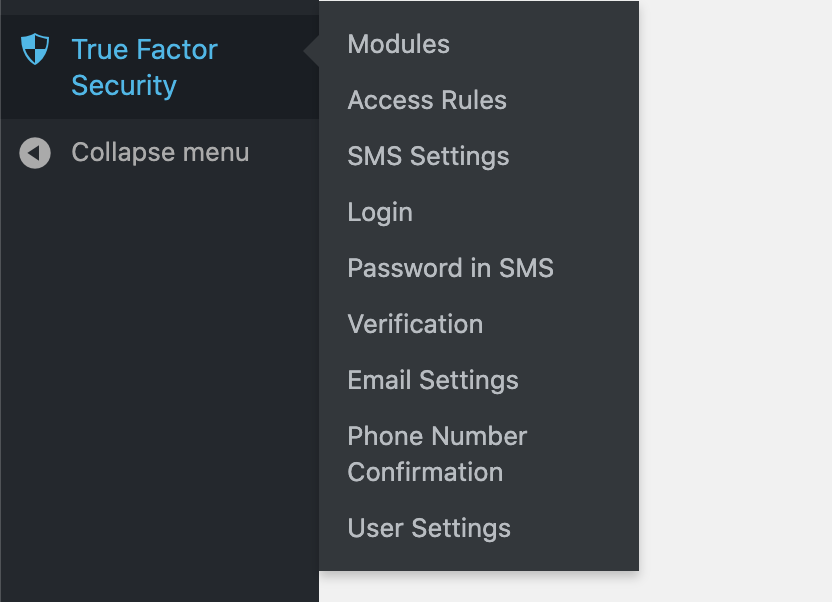
Navigate to the admin panel of your WordPress site. Assuming that you already have the True Factor Auth plugin installed and activated, you’ll see the corresponding item in the admin menu:
Click the Access Rules link.
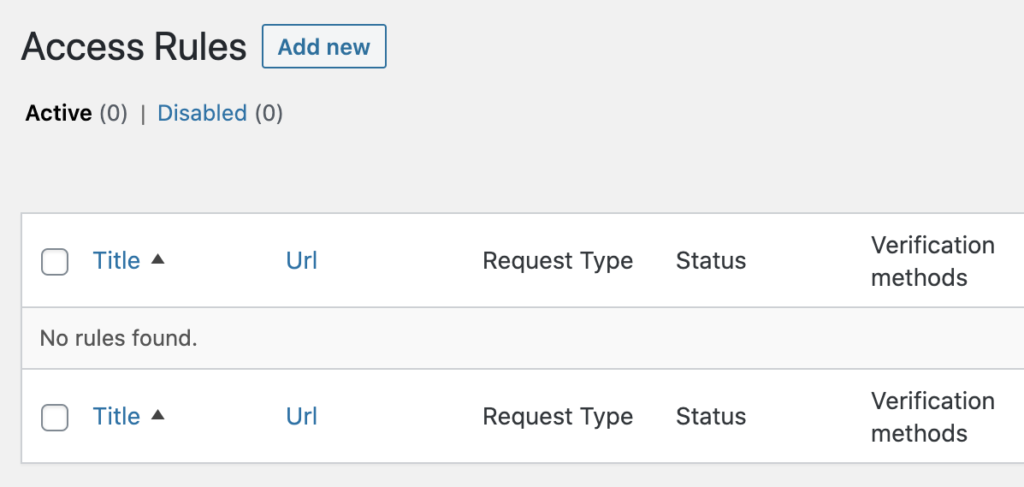
Let’s create a new rule by clicking the Add new button, which takes us to the rule creation form.
This form has a plenty of fields, but it is not neccessary to fill out all of them.
In our case we need to enter the following data:
- Title
This is a title for an action. Make sure to provide meaningful title, for example “Account Info Change”. This title wil be displayed to the user as part of informational messages, e.g. “Please enter one-time password to confirm action: Account Info Change”. - Require Verification
Whether or not to force user to confirm this action. When checked, user won’t be able to choose not to confirm this action. - Request Method
Our form is submitted via POST request, so we must choose POST here. - Request Params
In this field we must provide some form parameters which are unique to our target request. In the first step we discovered that the submit button has nameum_account_submit_general, which seems unique enough. So we just put it in the Request Params field. This will have the following effect: all POST request containing parameter with nameum_account_submit_generalwill be checked for presense of security token. - Trigger selector
Here we must put the CSS selector obtained on the step 1 –#um_account_submit_general. This option connects our rule with the target form on the front end. Every time when user clicks a button matching given selector, a verification popup will appear.
That’s it. Now click the Save button and let’s see it in action.
Step 3. Testing
Get back to the Account page and reload it. Click the Update Account page. If you did’t configure any verification methods for current user, you’ll be asked for password:
Let’s make our protection stronger by requiring one-time password. Go back to the Access Rules page in the admin panel and click on the previously created rule to edit it. In the end of the form you can choose which verification methods are available for this action. Let’s un-check the “Allow Password” option and click Save.
Get back to the Account page, reload it and click “Update Account”. You’ll get this:
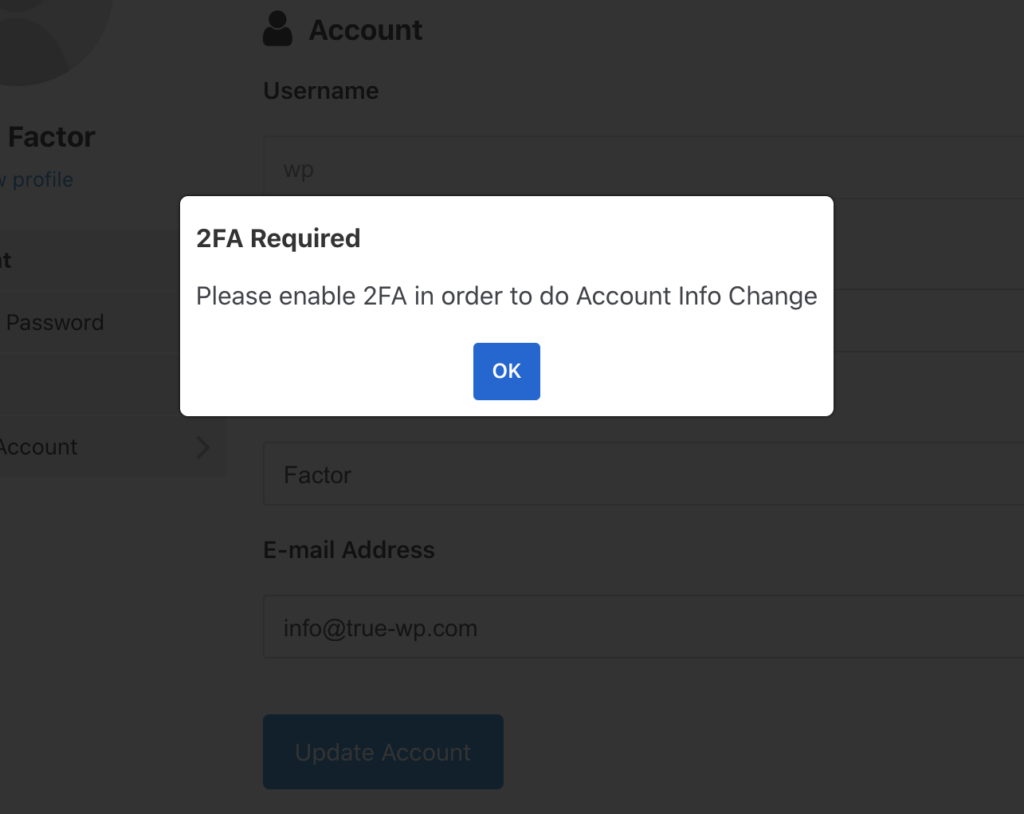
Now, in order to change your account info, you’ll need to activate SMS or Authenticator in the User Settings page as described here. Once this is done, you can change your account info again with selected verification type:
This example case is pretty easy, but our plugin can handle much more complicated forms. If you need any help configuring your forms, do not hesitate to contact us!